Detecting a problem in the condition of equipment in time is half the success. Early diagnosis can avoid breakdowns, repairs and downtime, save time and money and, most importantly, ensure safety for the life and health of workers.
What is vibration and why should it be measured?
Vibration (from Latin ‘vibrāre’ – ‘to shake’) is a mechanical phenomenon whereby oscillations occur about an equilibrium point. This process may be deterministic if the oscillations can be characterised precisely (e.g. the periodic motion of a pendulum), or random if the oscillations can only be analysed statistically (e.g. the movement of a tire on a gravel road).
Vibration can be desirable: for example, the motion of a tuning fork, the reed in a woodwind instrument or harmonica, a mobile phone, or the cone of a loudspeaker.
In many cases, however, vibration is undesirable, wasting energy and creating unwanted sound. For example, the vibrational motions of engines, electric motors, or any mechanical device in operation are typically unwanted. Such vibrations could be caused by imbalances in the rotating parts, uneven friction, or the meshing of gear teeth. Careful designs usually minimize unwanted vibrations.
“When earning money for a new printing press, we’re not interested in the old one!”
Our communication with various printing companies over the last 30 years has revealed a common trend. Approximately six months to a year before the equipment is expected to be sold, the owner usually reduces maintenance costs. The owner assumes that the next owner will take care of these costs. But the fact is that this causes the machine to fall into disrepair very quickly.
Another factor that affects the reliability of the printing equipment is how well the floor base is prepared. A reliable supplier always provides the buyer with a mounting plan for the equipment they sell. And for the most printing machines, the following parameters are usually listed there:
Maximum static load on the area occupied by the machine (highest pressure on the supporting surface) – 120 N/cm2
Dynamic load component (including vibration load) – 3 %.
Meanwhile, there are hundreds of cases where the owner of a printing press has skimped on the foundation. Increased vibration leads to spontaneous unscrewing of nuts, to rapid wear of bearings (the machine starts to emit a characteristic hum). And most importantly, it starts to bounce during operation, which leads to numerous printing problems. What’s the next step? Sell it, of course!
A company’s owner who accidentally buys such a ‘problematic’ machine will be convinced that he was unlucky. But a used equipment is not necessarily a reliability of a brand. It’s something you inherited from the previous owner…..
When inspecting printing equipment, we must pay attention to the vibration component. After all, a machine that has stood on a problematic foundation for 5-7 years, despite the low mileage, can be worn out much more than a similar machine with a mileage of 300 million impressions, but installed in full compliance with the rules.
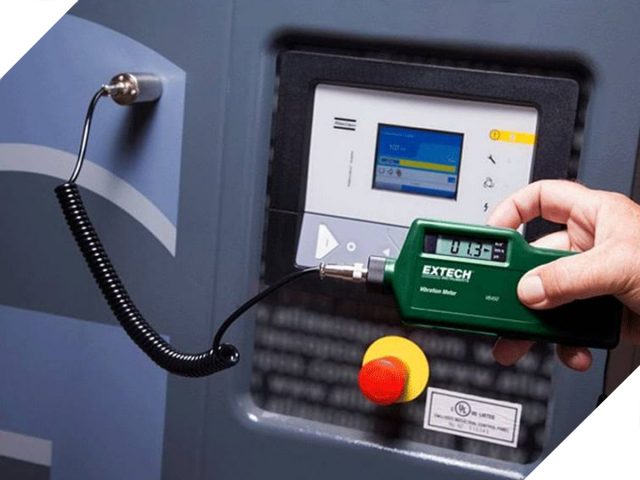
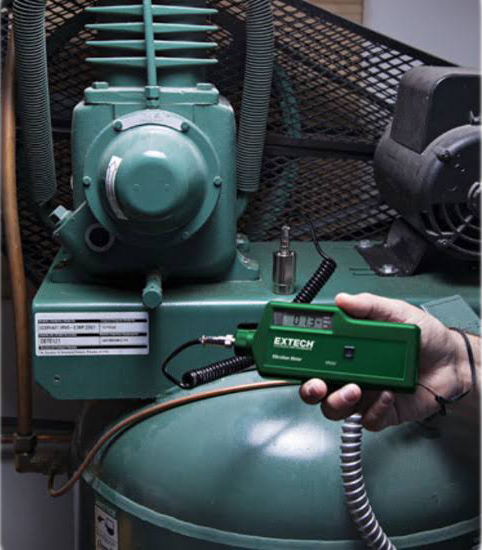
And here modern devices – vibrometers – are ready to help us. How exactly do these devices allow us to detect defects, what are their advantages compared to other methods?
‘Looking inside’ the product
It is obvious that there is a steady demand for technical solutions aimed at finding defects in various industries. And over the last decades these technologies have gone a long way of evolution: from visual observation to the use of high-tech devices and methods of non-destructive testing. Vibrodiagnostics and vibromonitoring, which allow you to ‘look inside’ the product or structure, belong to such technologies. And, if there is something wrong there, the sensor will show different changes depending on the nature of the failure.

There
are several parameters to measure vibration: vibration acceleration, vibration velocity and vibration displacement. In the first case, we can get information about the condition of those internal parts that cause vibrations themselves, such as bearings.
Vibration acceleration is measured in m/s2.
Vibration velocity is the speed of movement of the reference point along the measurement axis. This parameter gives an indication of the effect of vibration on equipment supports and is measured in mm/sec.
Finally, vibration displacement defines the limits of displacement of the reference point due to vibration.
Modern digital vibrometers can measure vibration acceleration and vibration displacement, and more sophisticated vibration analysers can also measure vibration velocity.
Real-time diagnostics
Another key advantage of the technology is the ability to diagnose equipment while it is running. Vibrodiagnostics is effective for machines with rotating elements (the device determines imbalance), rolling bearings (determines the degree of wear), hydraulic equipment (degree of wear), electric motor (loosening of stator winding fasteners, etc.), which corresponds to the design of the machine tool equipment’.

The first of them is the assessment of technical condition by the general level of vibration signal. This is the method we have the opportunity to use for short-term inspection of the equipment. Its advantages include simplicity and, as a consequence, no need for personnel training. However, it also has serious disadvantages. The key one is that many defects are detected at a late stage, which increases costs and largely negates the benefits of vibration diagnostics.
The second method, spectral diagram diagnostics allows them to be identified during development. But this method requires measurements over a long period of time and, most importantly, a very expensive special spectroanalyser to obtain the amplitude spectrum and trained personnel to analyse it.</p>
In addition, the researchers name several other methods, which we will simply list, among them – diagnostics by peak/background ratio of vibration signal; vibration diagnostics by energy spectrum, autocorrelation function, flicker-noise, acoustic emission, etc. The most important of these methods are the following.
During the inspection of printing equipment we can measure only those parameters that we have at the time of inspection. Therefore, if the customer is willing, the equipment inspection should be repeated: the first time to inspect the equipment just before signing the contract, and the second time – just before dismantling. Then we can compare the results and draw conclusions.
Which units of printing equipment should be checked?
All parts with bearings that have a direct impact on print quality and speed should be checked. This includes the compressors, the feeder’s head (just remember how much the drive crankshaft of a Heidelberg head costs), the printing units in the area of the cylinder bearings, and the ink and dampening units of the printing presses. And if the bearing of the ink roller is easy to replace (even with the roller itself!), the increased vibration of the printing unit may indicate serious wear and tear of expensive gears, the repair of which may be impossible in the conditions of the printing house….


